Screenshots
On this page you can see several screenshots of the ImageConverter. Shown is the program itself, the Image Converter in action and an excerpt from the functionality and features.
In the first screenshot you can see the main program without any settings or loaded images. The program looks like that, when you open the application for the first time and you do not have applied any settings.
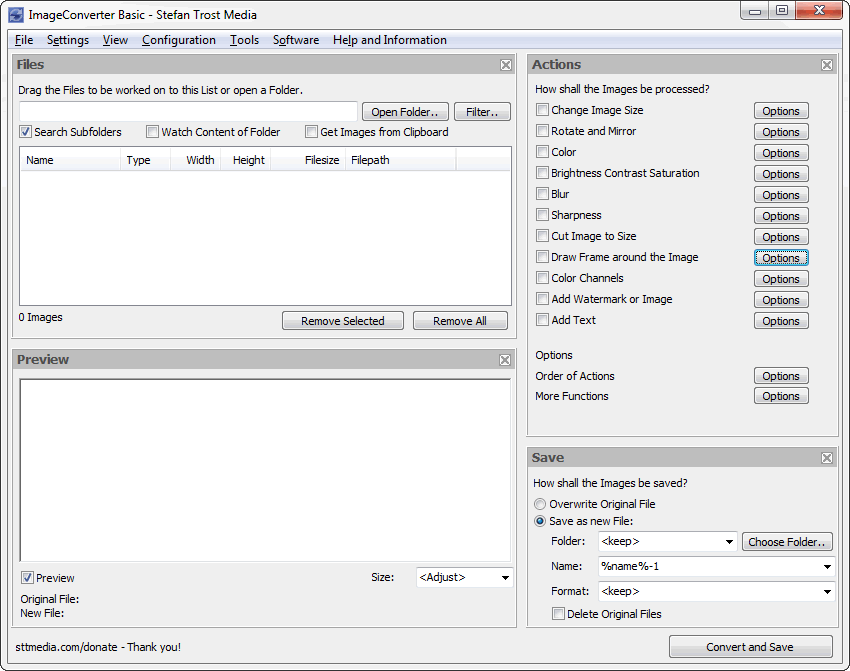
The window can be divided into four parts: In the upper left, there is the input area, where images can be added, for example, by dragging them from a folder onto the program. Below you can see the preview. Here you can see how the settings change the original images, after selecting an image from the list. The settings are adjusted on the upper right in the area "Actions". Here you can select all actions that should be carried out (for example "Change Image Size"). Beneath the actions, you can find all of the saving options. If everything is set, you can click on the button "Convert and Save" in the right corner and all images are processed and stored.
The Image Converter
In the next screenshot, you can see the Image Converter in action. In the top left, you can see that some images have been added to the file list. One of these pictures is selected and you can see it in the preview pane.
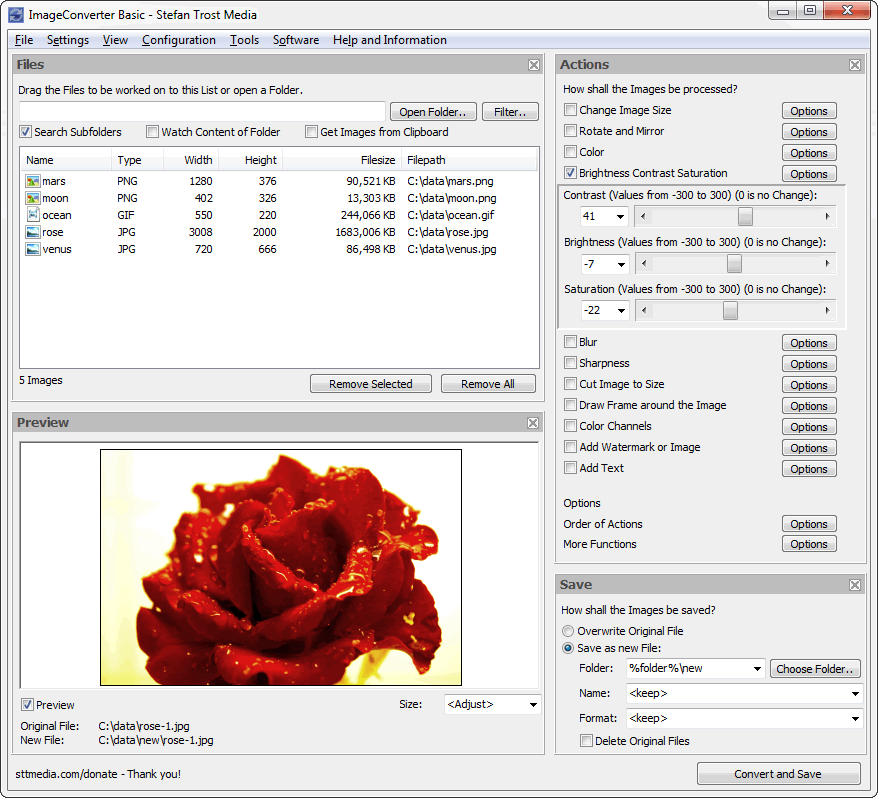
In the top right corner, there was selected only one function: The function to change the contrast, brightness and saturation. Regulators have been shifted slightly and the result can be seen in the preview. You can check or uncheck the checkbox "Preview" under the preview image (alternatively you can use the F7 key) to swith between the converted and the original image.
Also the saving options have been adjusted: The images should be saved as a new image. For that a new folder with the name "New" should be created in the folder of the source images. Furthermore, the filename and the fileformat should be changed, too. Below the preview box, you can compare the original filename with the new one.
Individual View and Text-Watermark
In this screenshot, you can see how to add an arbitrary text as a watermark to your images by using the function "Add Text". Of couse, you can also use Unicode characters in this text. In the example, a transparent background is choosen, the text is placed in the down right and a little transparency for the text is selected.
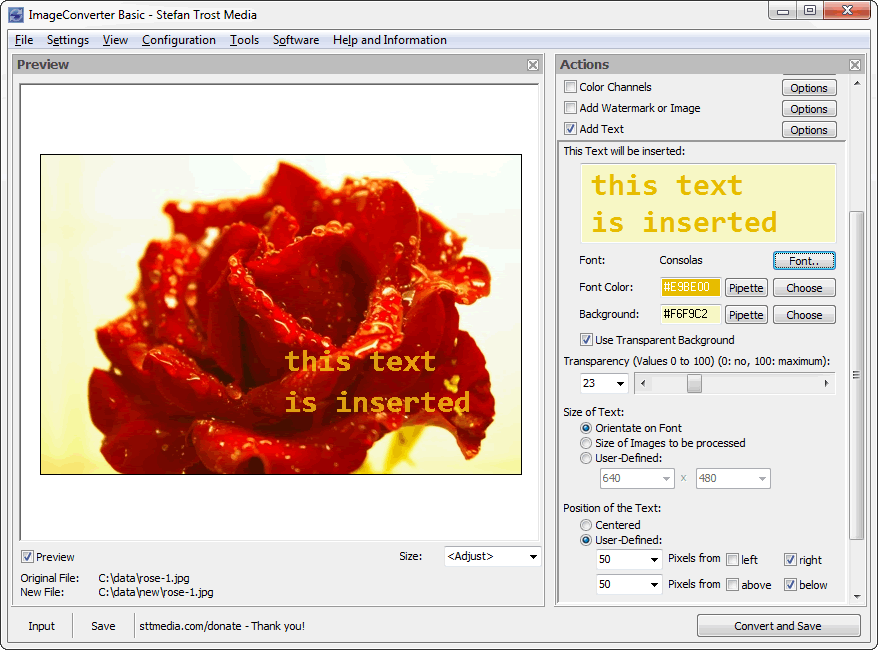
In addition, this screenshot demonstrates the individual view. With the small X in the upper right of each of the areas, the respective area can be minimized. This enables you to work with the Image Converter also on small screens. As you can see, the closed windows appear in the lower left of the main window. When you click on one of these buttons, the appropriate areas will be reopened.
The Actions
In the last screenshot you can see some of the actions (to be found in the main window on the upper right), which can be applied to the images. To apply the functions, you simply need to activate the check mark next to the action. After that, the corresponding additional seetings will open.
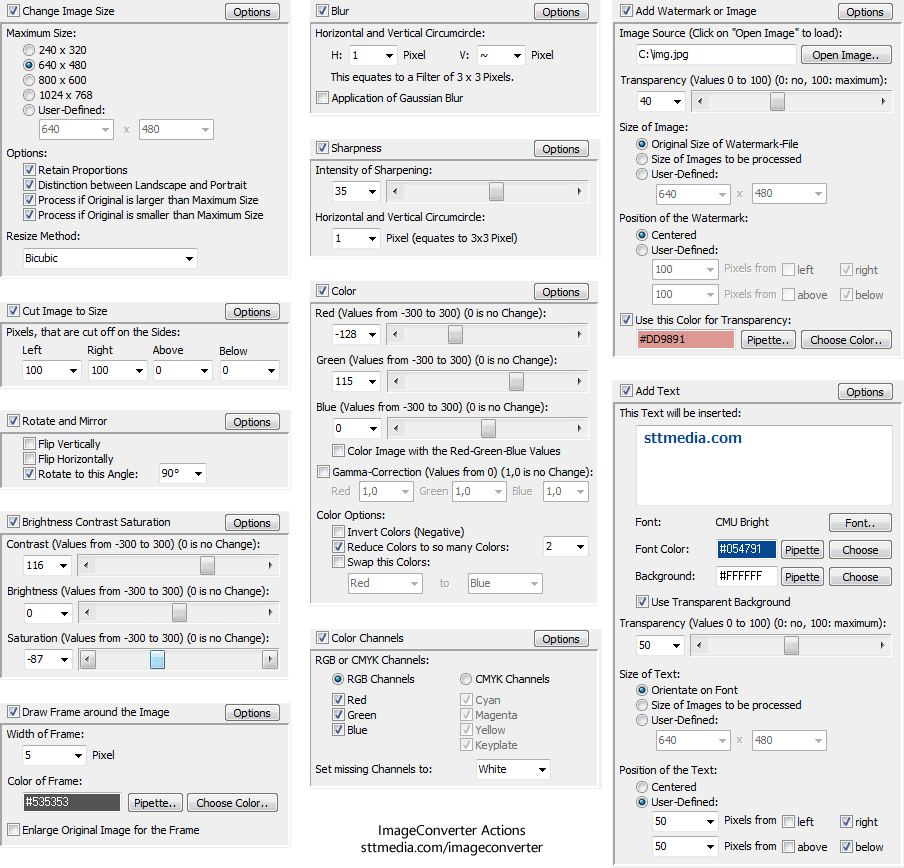
In this screenshots you can see the setting-panels to change the image size, to draw a border around the image, to change the contrast, brightness and saturation, to crop images, to add a watermark or a picture to the original image, to rotate or mirror the pictures and to change the color settings. See the section Actions on the page "Functions" to learn more about the exact function of these settings.
Photo Credit
The sample image with the rose in the second and third screenshot is from Oliver Behr (© Oliver Behr, Pixelio).
More Screenshots
Further screenshots of the ImageConverter can be found on the page First Steps.
Note
The screenshots were created with the Clipboard Saver. With this tool, you can automatically save screenshots in any format and you can also simultaneously scale or otherwise edit the graphic according to your wishes.