First Steps
The Image Converter allows you to edit a lot of pictures quickly and easily at the same time. For example, you can change the format or the size of some pictures in only one step. This guide gives a step by step explanation of how it works. If you want to have an explanation of each function in detail, go to the section functions on this page.
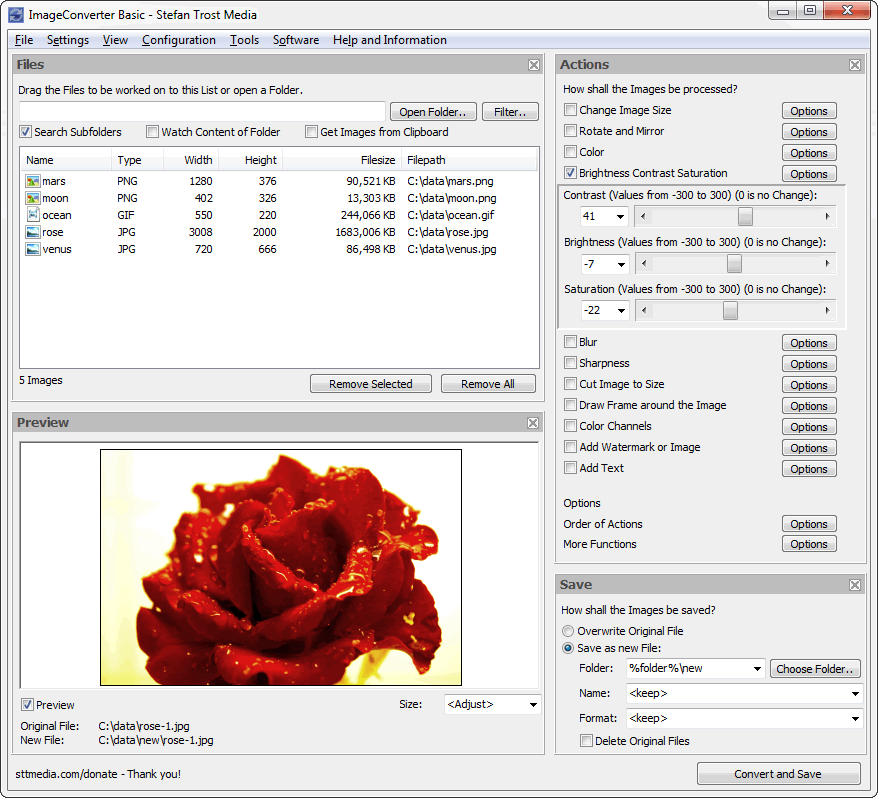
Add Images
In the first step, the images to be processed, must be added to the list in the top left corner of the main window. You can simply drag images from one of your folders on your computer in the list. Alternatively, you can also search a folder or open images individually.
Select Actions
Next, you need to tell the program how the images have to be processed. This is done in the column "Actions" in the top right of the main window. Just click on one or some of the given actions to apply them. In general, these actions and the settings of the actions are self explanatory, but you can also find a detailed explanation of each available action in the section functions under the topic actions.
Preview
In the box on the below left, you can see the preview. If you select a picture from the list, it will be shown in the list, operated with all of the choosen actions. This helps you to see how the actions work and how the image will look like after applying the actions. Press F7 or click on the preview-button behind the thumbnail to activate or deactivate the preview. By doing this, you can see the difference between the original image and the changed image.
Saving Images
Last, you have to indicate how the images should be saved. This can be made in the box at the bottom right. Here you can specify whether you want to overwrite the original image (Attention! The image can not be restored), or whether the file name, the folder or the format should be changed. If everything is set correctly, click on the button "Convert and Save" on the bottom right of the window. With this, the given actions are applied to all of the images in the list and the images will be saved according to the saving options. An overview over all saving options in detail, you get on the page functions, section saving.
The sample image with the rose in the second screenshot is from Oliver Behr (© Oliver Behr, Pixelio).