Screenshots
On this page you can see several screenshots of the IndexAuthor. The screenshots are available for the operating systems Windows 10, Windows 7 and Windows XP. You can switch the shown operating system with the links under the screenshots.
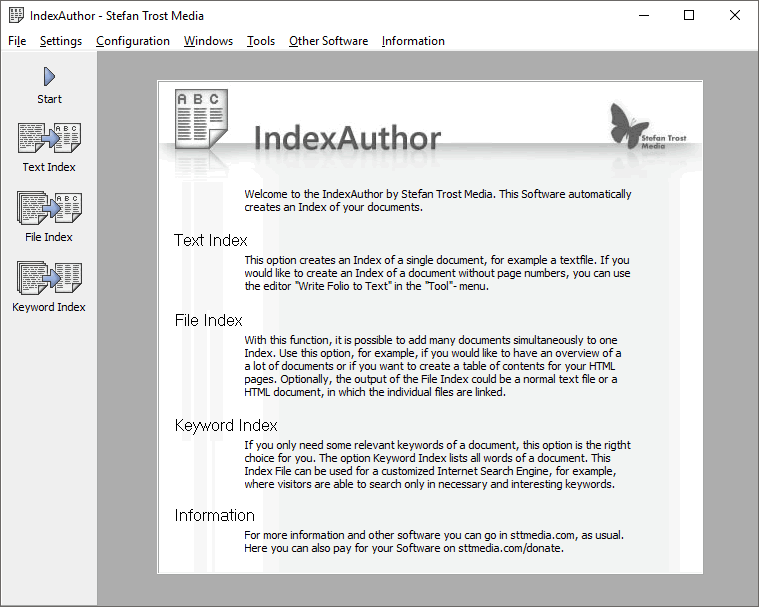
In the first screenshot you can see the initial page which is shown every time, you start the program. On this page, all of the functions are explained briefly and you can click directly on them to reach the corresponding windows.
Windows 10 - Windows 7 - Windows XP
If you would like to change the function within the program, you can use the main menu or the bar on the left.
Text Index
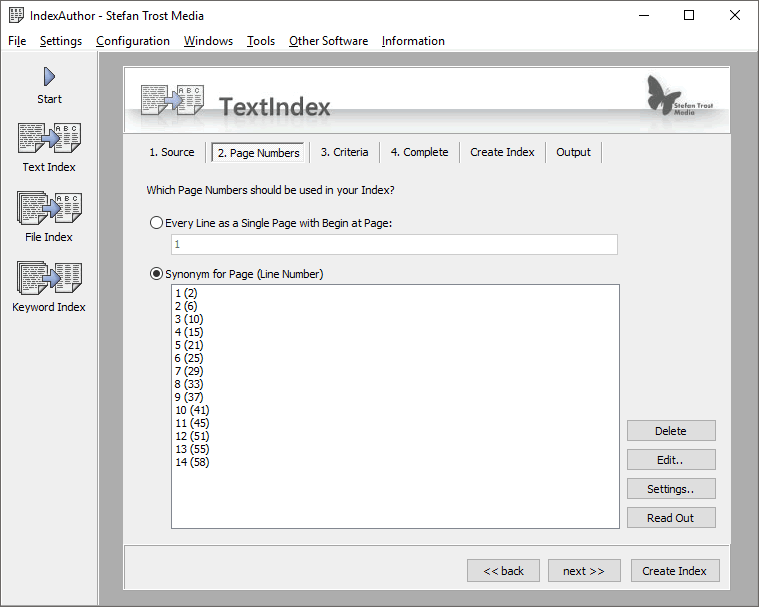
The next screenshot is from the function Text Index. After you have chosen your source, you reach this window in which the page numbers can be adjusted. Normally, the Index Author is able to select the page numbers automatically, but nevertheless you can still adjust them individually here. The first number in the list refers to the page name and the second on the corresponding line in the text.
Windows 10 - Windows 7 - Windows XP
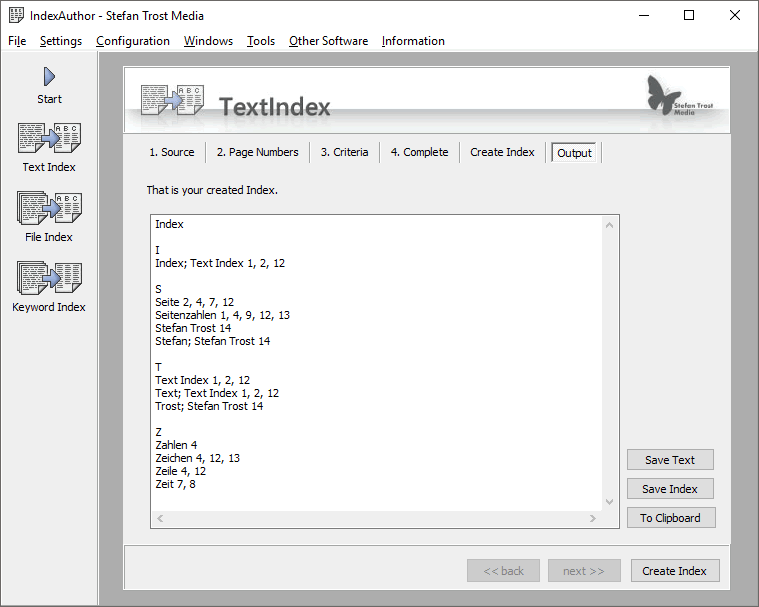
If you are satisfied with all settings, you can click on "Create Index". Then you reach the window, which can be seen in the next picture. This index does not contain particularly very much entries because we adjusted to look only for certain words of the white list.
Windows 10 - Windows 7 - Windows XP
Normally, you can use the standard settings of the Index Author and create your index immediately after choosing the source. Nevertheless, it is still possible to carry out lots of modifications. For example, you can search for exact words for your index or you can set other names for your page numbers.
File Index
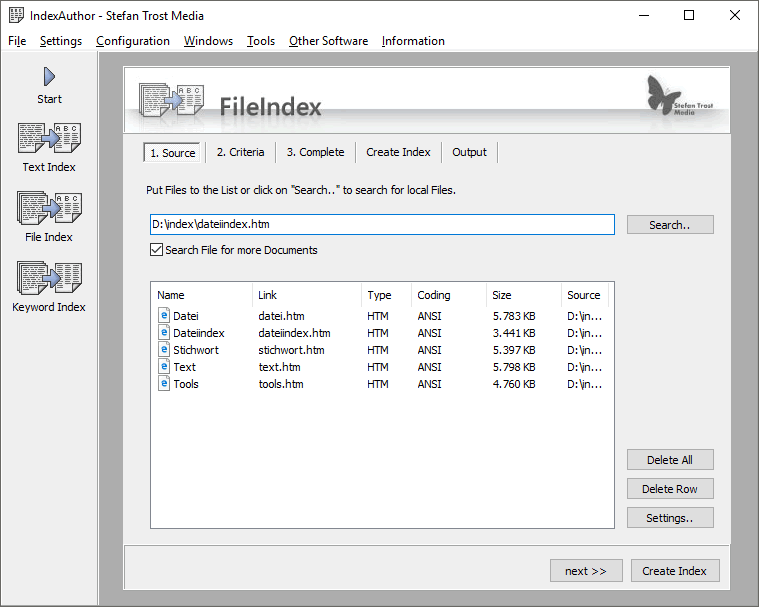
In the following you can see some screenshots of the File Index function. In the first window, the source is read out. If you would like to, the HTML files can be searched for more documents by following the links.
Windows 10 - Windows 7 - Windows XP
After that you can adjust some settings, which are used to create your index. For example words could be sorted out according to certain criteria or you can adjust your design. Although there are so many possibilities to create your user-defined index, you can also skip these steps, because the predefined lead to good results in most cases.

Windows 10 - Windows 7 - Windows XP
After clicking on "Create Index", you reach this window. Here an HTML Index was made with the standard settings. The links behind the entries are connected directly to the corresponding documents. This index looks a bit scanty, because it was only looked for a few certain words.
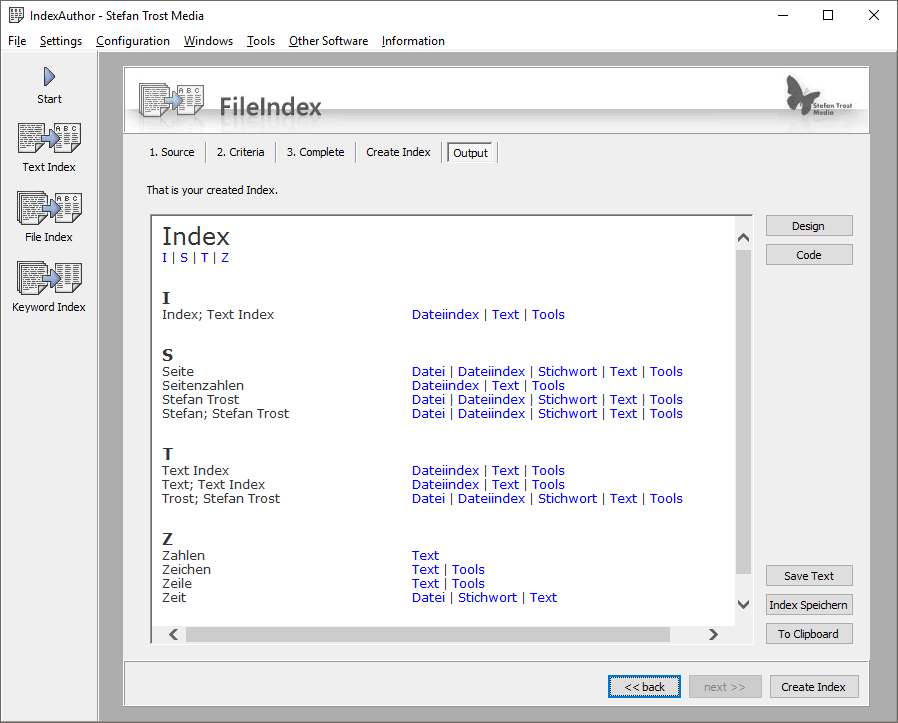
Windows 10 - Windows 7 - Windows XP
Of course you can also click directly on "Create Index" after you have chosen a source. Then you reach immediately this window without having to look at the other ones. In the help section, you can learn in detail how this exactly works.
Settings
You can modify your index and the design according to your needs. On this screenshot you can see one of the many windows in which you can adjust the HTML design.

Windows 10 - Windows 7 - Windows XP
Note
The screenshots were created with the Clipboard Saver. With this tool, you can automatically save screenshots in any format and you can also simultaneously scale or otherwise edit the graphic according to your wishes.