First Steps with the old Version of the Text Converter
Information
On this page you will find an introduction to the old Text Converter, which is no longer being developed. We recommend that you use the latest version of the program and only use the information that can be found on this page if you are still using the old version of the program.
An introduction to the current version can be found here.
The TextConverter makes it possible to edit a lot of texts, quickly and easily. For example, it is possible to replace text passages or lines by other ones, you can delete lines or part of the text, text can be inserted at any position, you can add line numbers to your texts or do HTML formatting. A special thing about this software is, that any number of changes can be performed on any number of text files simultaneously.
This tutorial is a step by step introduction to the TextConverter and an explanation of how the software works. If you require an explanation of each function in detail, please go to the section functions on this page. There is a list of all functions in the program sorted by their occurrence.
Your first Text Changes
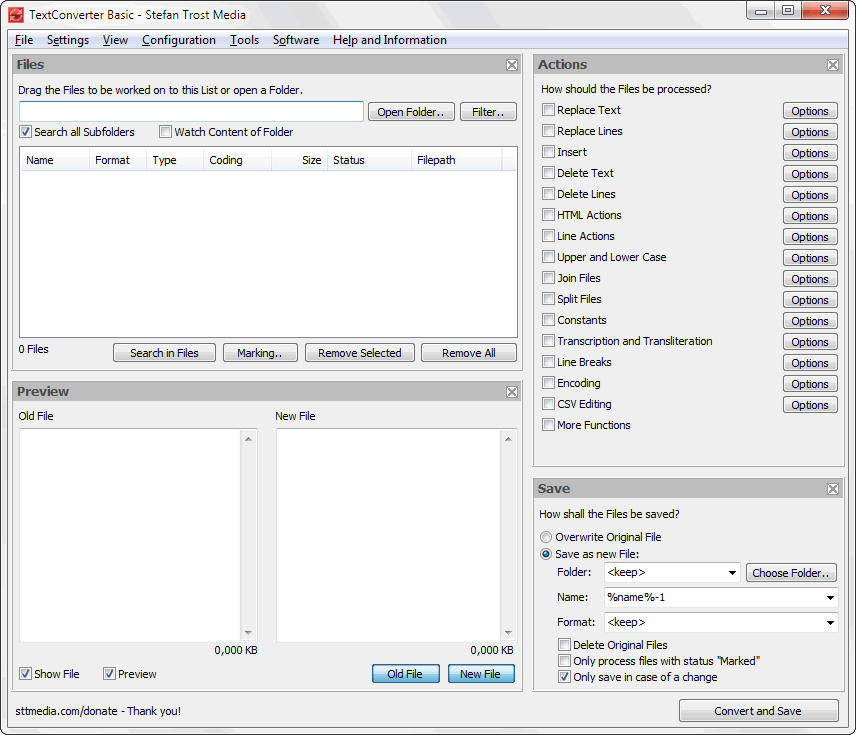
Open a folder on your computer, in which there is a text file. Open the Text Converter and drag the text file on the main program. Now select one of the actions on the right side (for example: delete a row) and then click on "Convert and Save" on the right below of the main window. Now, a new file will be created with your change. It should be located by default in the same folder as your original file.
Add Files
As the example has already demonstrated, all the files to be edited, have to be added to the list at the top left corner of the main window. You can simply drag images from a folder in the program, folder can be browsed or you can open files directly by using the function "File > Open Files".
Select Action
Next, you need to tell the program how the files have to be processed. This is done in the column "Actions" in the top right of the main window. Just click on one or some of the given actions to apply them. In the window, that will open, you can determine how the functions should be carried out in detail. For example which text should be replaced by what text. A detailed explanation of all these functions can be found on the page Functions in the section Actions.
Preview
In the box in the below left of the main window, there is a preview. By default, here the original file is displayed next to the changed file, so that you can compare these versions directly. Of course you can also disable the preview (under the preview window), or just display the new or the old file.
Saving Files
Finally, you have to specify how the images should be saved. These functions are located in the box in the below right. Here you can determine whether the original file will be saved into a new folder under a new name or in another format or if you want to overwrite the original file. Please be careful when overwriting original files, because overwritten files can not be restored.
If everything is set correctly (the new path you can also see in the preview pane), click the "Convert and Save" button in the lower right corner. Now all files in your list are saved according to the changing and saving options. An overview of all saving options in detail can be found on the page functions, section Saving.